Vinyl Tile Replacement Services Overview
Visitors will learn about local contractors who specialize in vinyl tile replacement and how to compare their services.
- - Residential property owners seeking to update or replace worn or damaged vinyl tile surfaces.
- - Commercial space managers looking to restore flooring in high-traffic areas with professional vinyl tile replacement.
- - Facility managers aiming to improve indoor aesthetics and safety through local vinyl tile installation and replacement services.
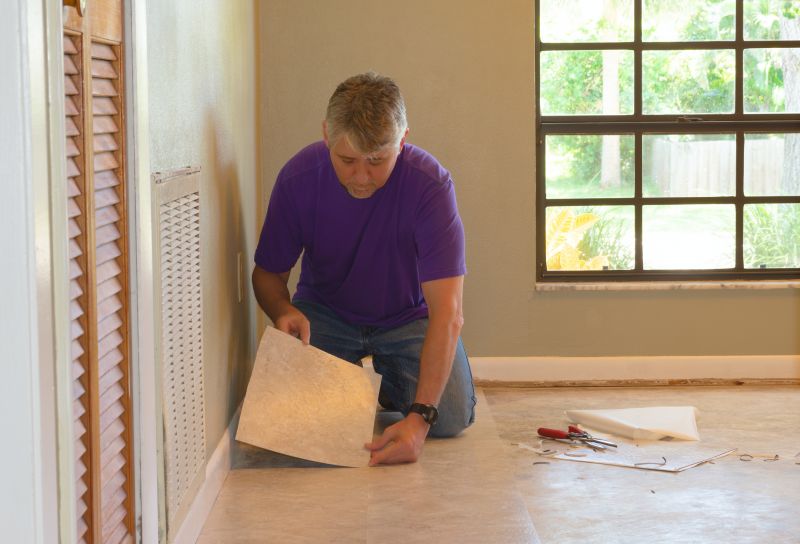
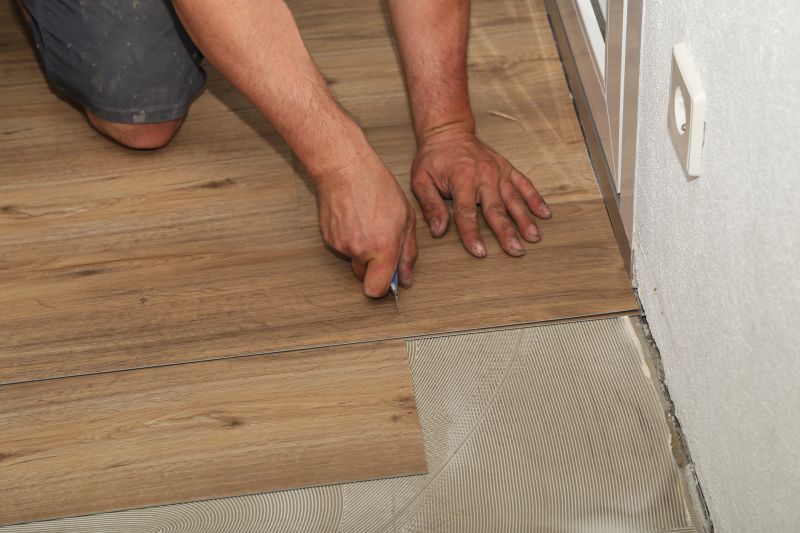
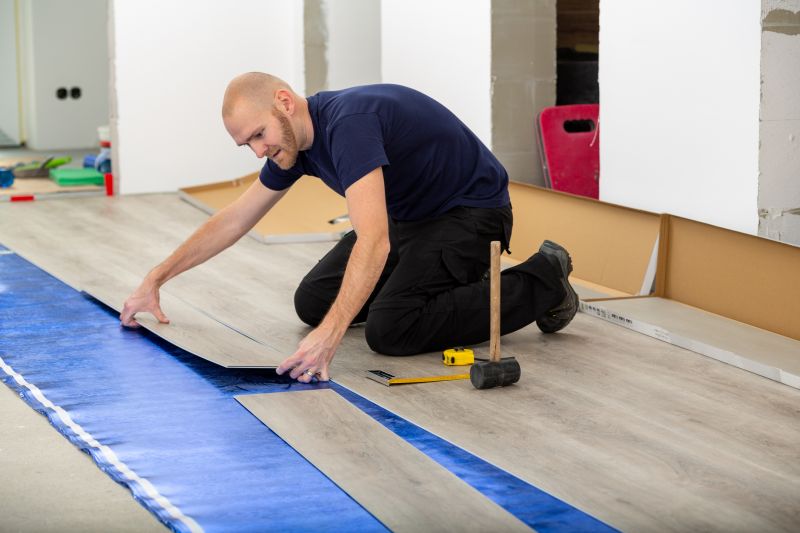
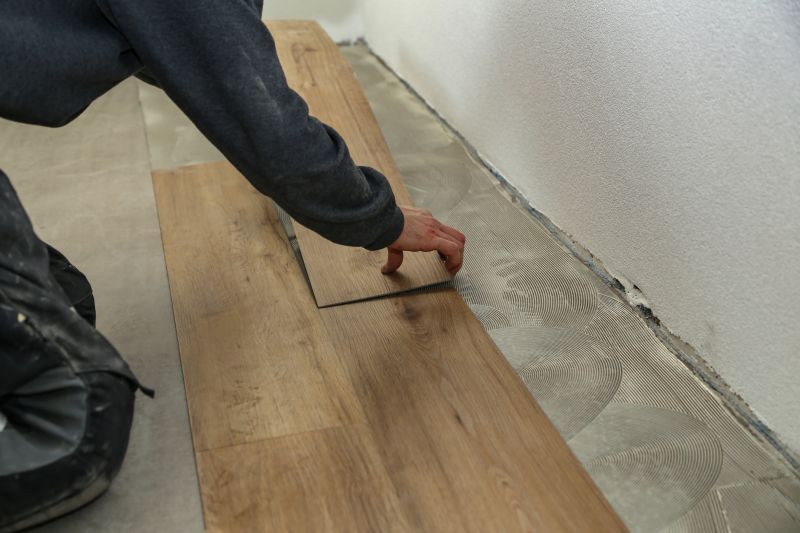
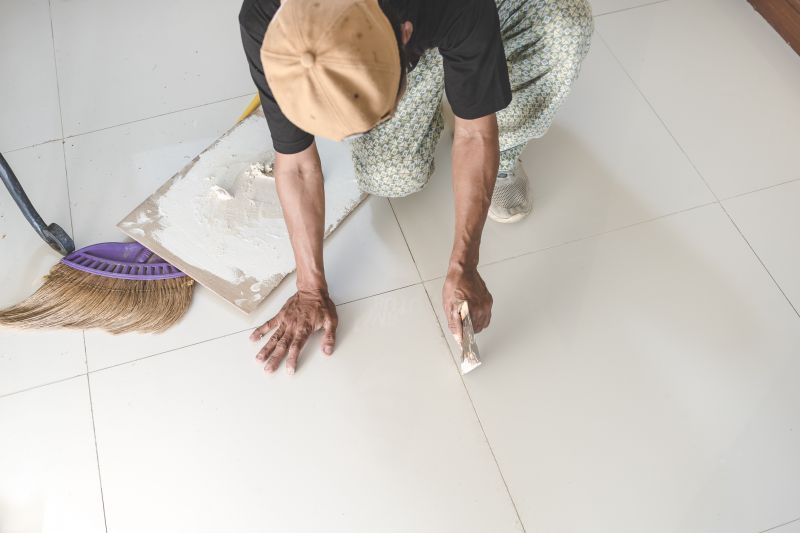
Vinyl tile replacement is a common solution for updating and restoring the appearance of flooring in residential and commercial spaces. When tiles become damaged, stained, or outdated, property owners often seek the expertise of local contractors who specialize in flooring installation and replacement. These professionals can assess the condition of existing vinyl flooring, recommend suitable replacement options, and perform the installation to ensure a smooth, durable finish that enhances the overall look of the space.
Local service providers who handle vinyl tile replacement typically work with a variety of property types, from kitchens and bathrooms to commercial areas. They understand the importance of precise installation and proper surface preparation to achieve long-lasting results. Property owners can expect these pros to provide practical solutions tailored to their specific needs, helping to improve both the functionality and aesthetic appeal of their flooring.
This guide provides helpful information to understand the process of vinyl tile replacement and what to consider before hiring a service provider. It assists in comparing local contractors and prepares visitors to communicate their project needs effectively. By offering insights into common steps and questions, the guide supports making informed decisions when connecting with local service providers.